


 Grand Kitchen
BATHROOM JOINT REFRESH KIT
Two clear steps for worn bathroom joints
For bathroom edges ready for a refresh
Refresh an Aged Bathroom Joint in Two Clear Steps.
Use the remover spray for old residue, then apply the white sealant with its pointed nozzle.
Remove residue. Apply a fresh white seal.Two-part maintenance sequence
Two applicators for two distinct stepsA spray remover and pointed-nozzle sealant, presented for bathroom joints.
Compact contents for household repair tasksOne set lists 30 mL remover plus 30 mL waterproof glue.
Select 1 Set or 2 Sets based on your planned repair areas.

For visible residue, peeling sealant, or gapsA practical bathroom-joint refresh sequence
Remove. Reseal. Refresh.One kit. Two application steps.
Spray remover
Pointed-nozzle white sealant
Confirm directions before use
Bathroom Glue Remover and Waterproof Sealant Set
Bathroom Glue Remover and Waterproof Sealant Set
Regular price
$15.99
Regular price
$15.99
Sale price
$31.99
Unit price
per
BUNDLE & SAVE
Couldn't load pickup availability

Bathroom Glue Remover and Waterproof Sealant Set
Regular price
$15.99
Regular price
$15.99
Sale price
$31.99
Unit price
per


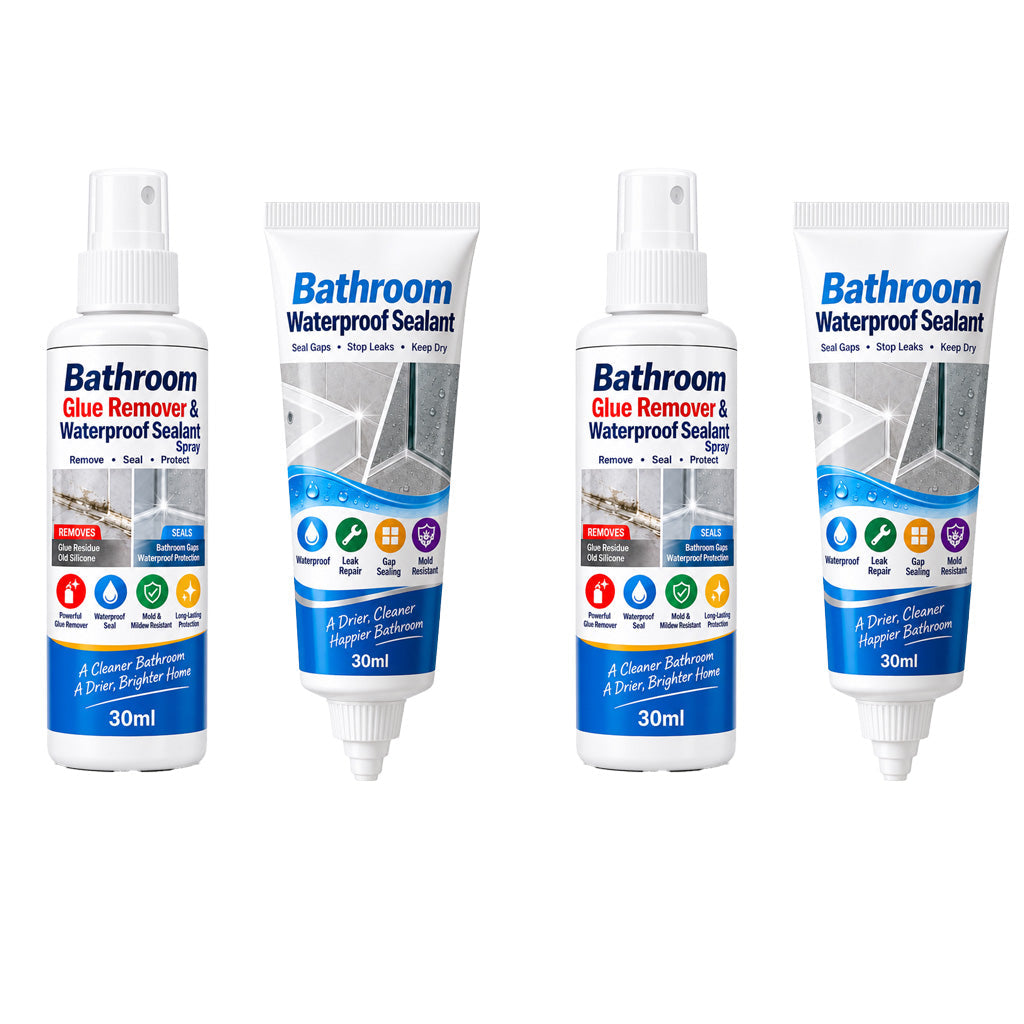
See the Two-Part Bathroom Kit Up Close
Spray remover and sealantSwipe to explore →
Step 2 · White waterproof glue

Pointed nozzle · Controlled application

Bathroom joints · Household repair context

1 Set or 2 Sets · Choose your quantity

Two applicators. One refresh sequence.
You want a cleaner-looking bathroom edge—not another unfinished repair.
Aged Bathroom Joints Can Make the Whole Space Look Tired.
Old residue, peeling material, and visible gaps around tile or fixtures can turn a small bathroom detail into a project you keep putting off.
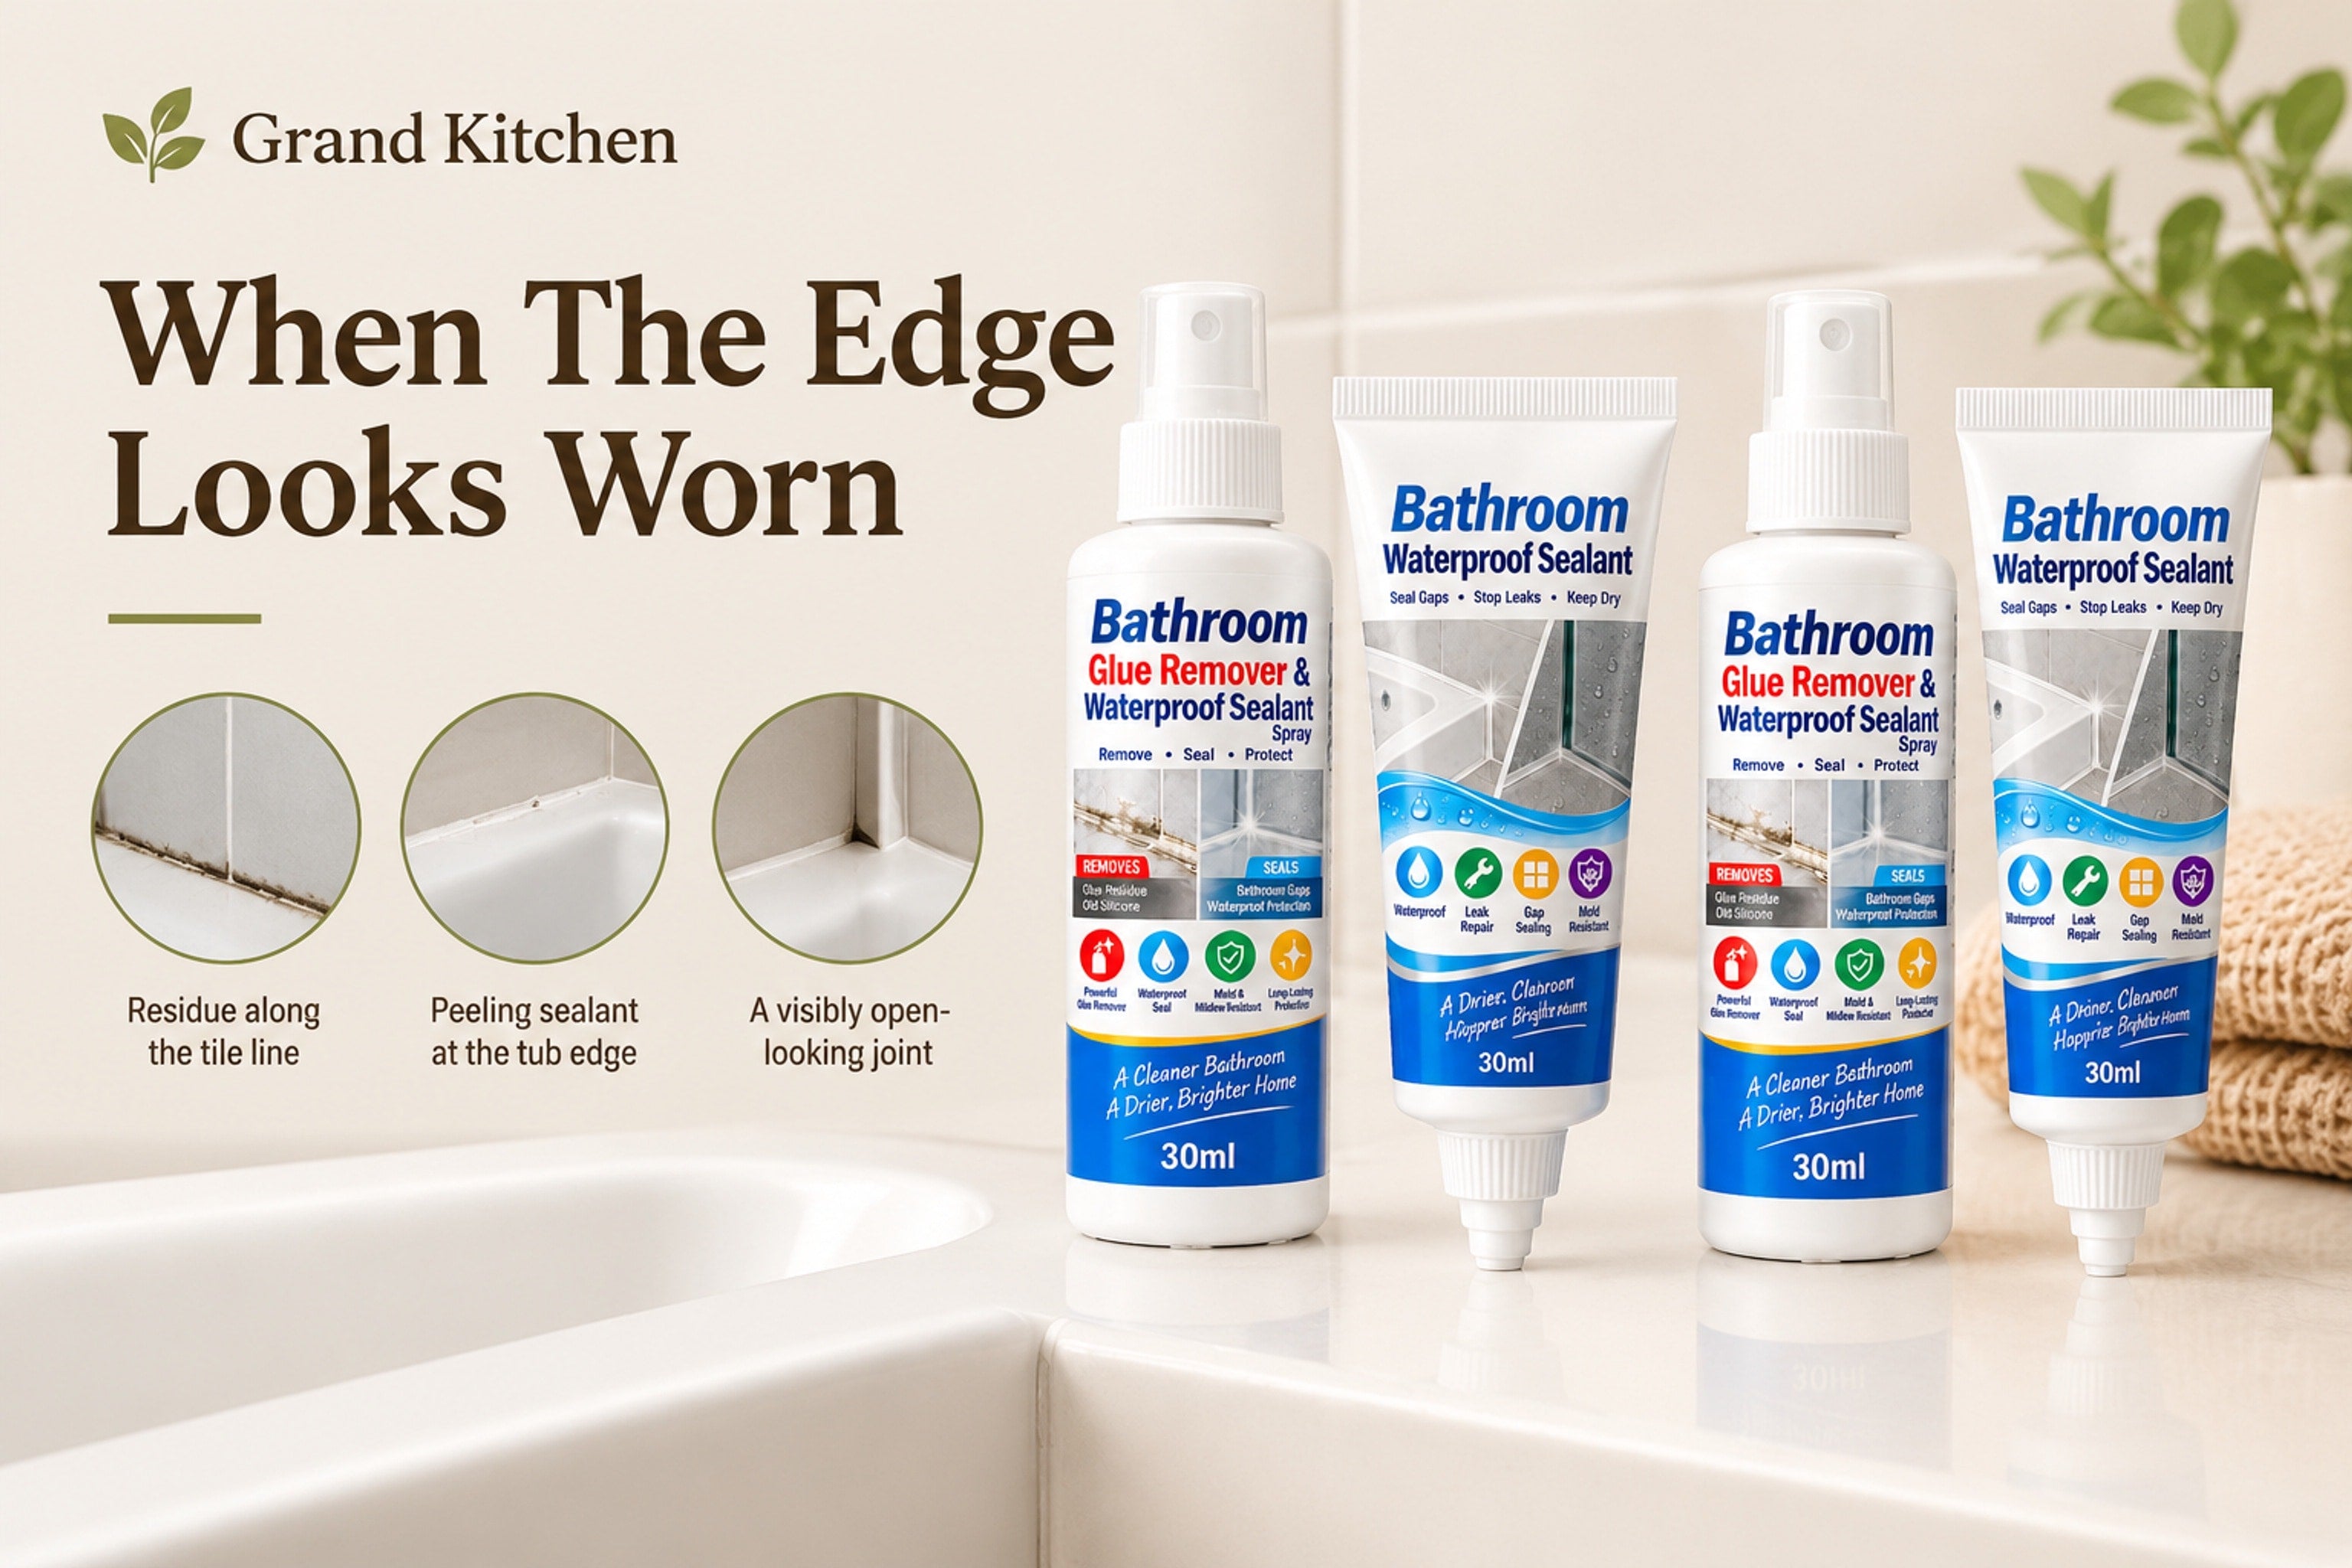
A clearer maintenance plan starts with the joint.
Address the visible residue first, then apply a fresh white sealant.
Old residue at the edge
Built-up material can leave a bathroom joint looking uneven and ready for attention.
Peeling sealant
A worn edge can make an otherwise clean bathroom look unfinished.
Visible gaps
When a joint needs refreshing, it helps to have both steps in one kit.

One product does not explain the whole job
A refresh project usually starts by considering the old material before applying a new white seal.
The practical reason
Refresh Bathroom Joints in Two Clear Steps.
Grand Kitchen pairs an adhesive remover spray with white waterproof glue so you can consider removal and resealing as one bathroom-joint workflow.
A straightforward sequence for a visible maintenance task.Identify. Refresh. Reseal.
One set brings together the two applicator formats shown for the job.
Meet the Grand Kitchen Bathroom Joint Refresh Set
Two Parts. One Bathroom-Joint Workflow.
Each listed set includes a 30 mL adhesive remover and a 30 mL white waterproof glue, presented in spray and pointed-nozzle formats.
Choose 1 Set or 2 Sets for the repair areas you plan to review.
Two-part task flow
Consider the old residue before the resealing step.
The kit is presented with separate remover and sealant applicators.
Spray format for the first step
A distinct remover applicator
The adhesive remover is shown in a compact spray bottle.
Pointed nozzle for the second step
A focused white-sealant applicator
The waterproof glue is shown in a pointed-nozzle tube for bathroom joints.
The two-step bathroom-joint refresh
Review. Remove. Reseal.
The essentials, clearly presented
Made for Bathroom-Joint Refresh Projects.
A 30 mL adhesive remover spray and a 30 mL white waterproof glue tube for household bathroom repair tasks.
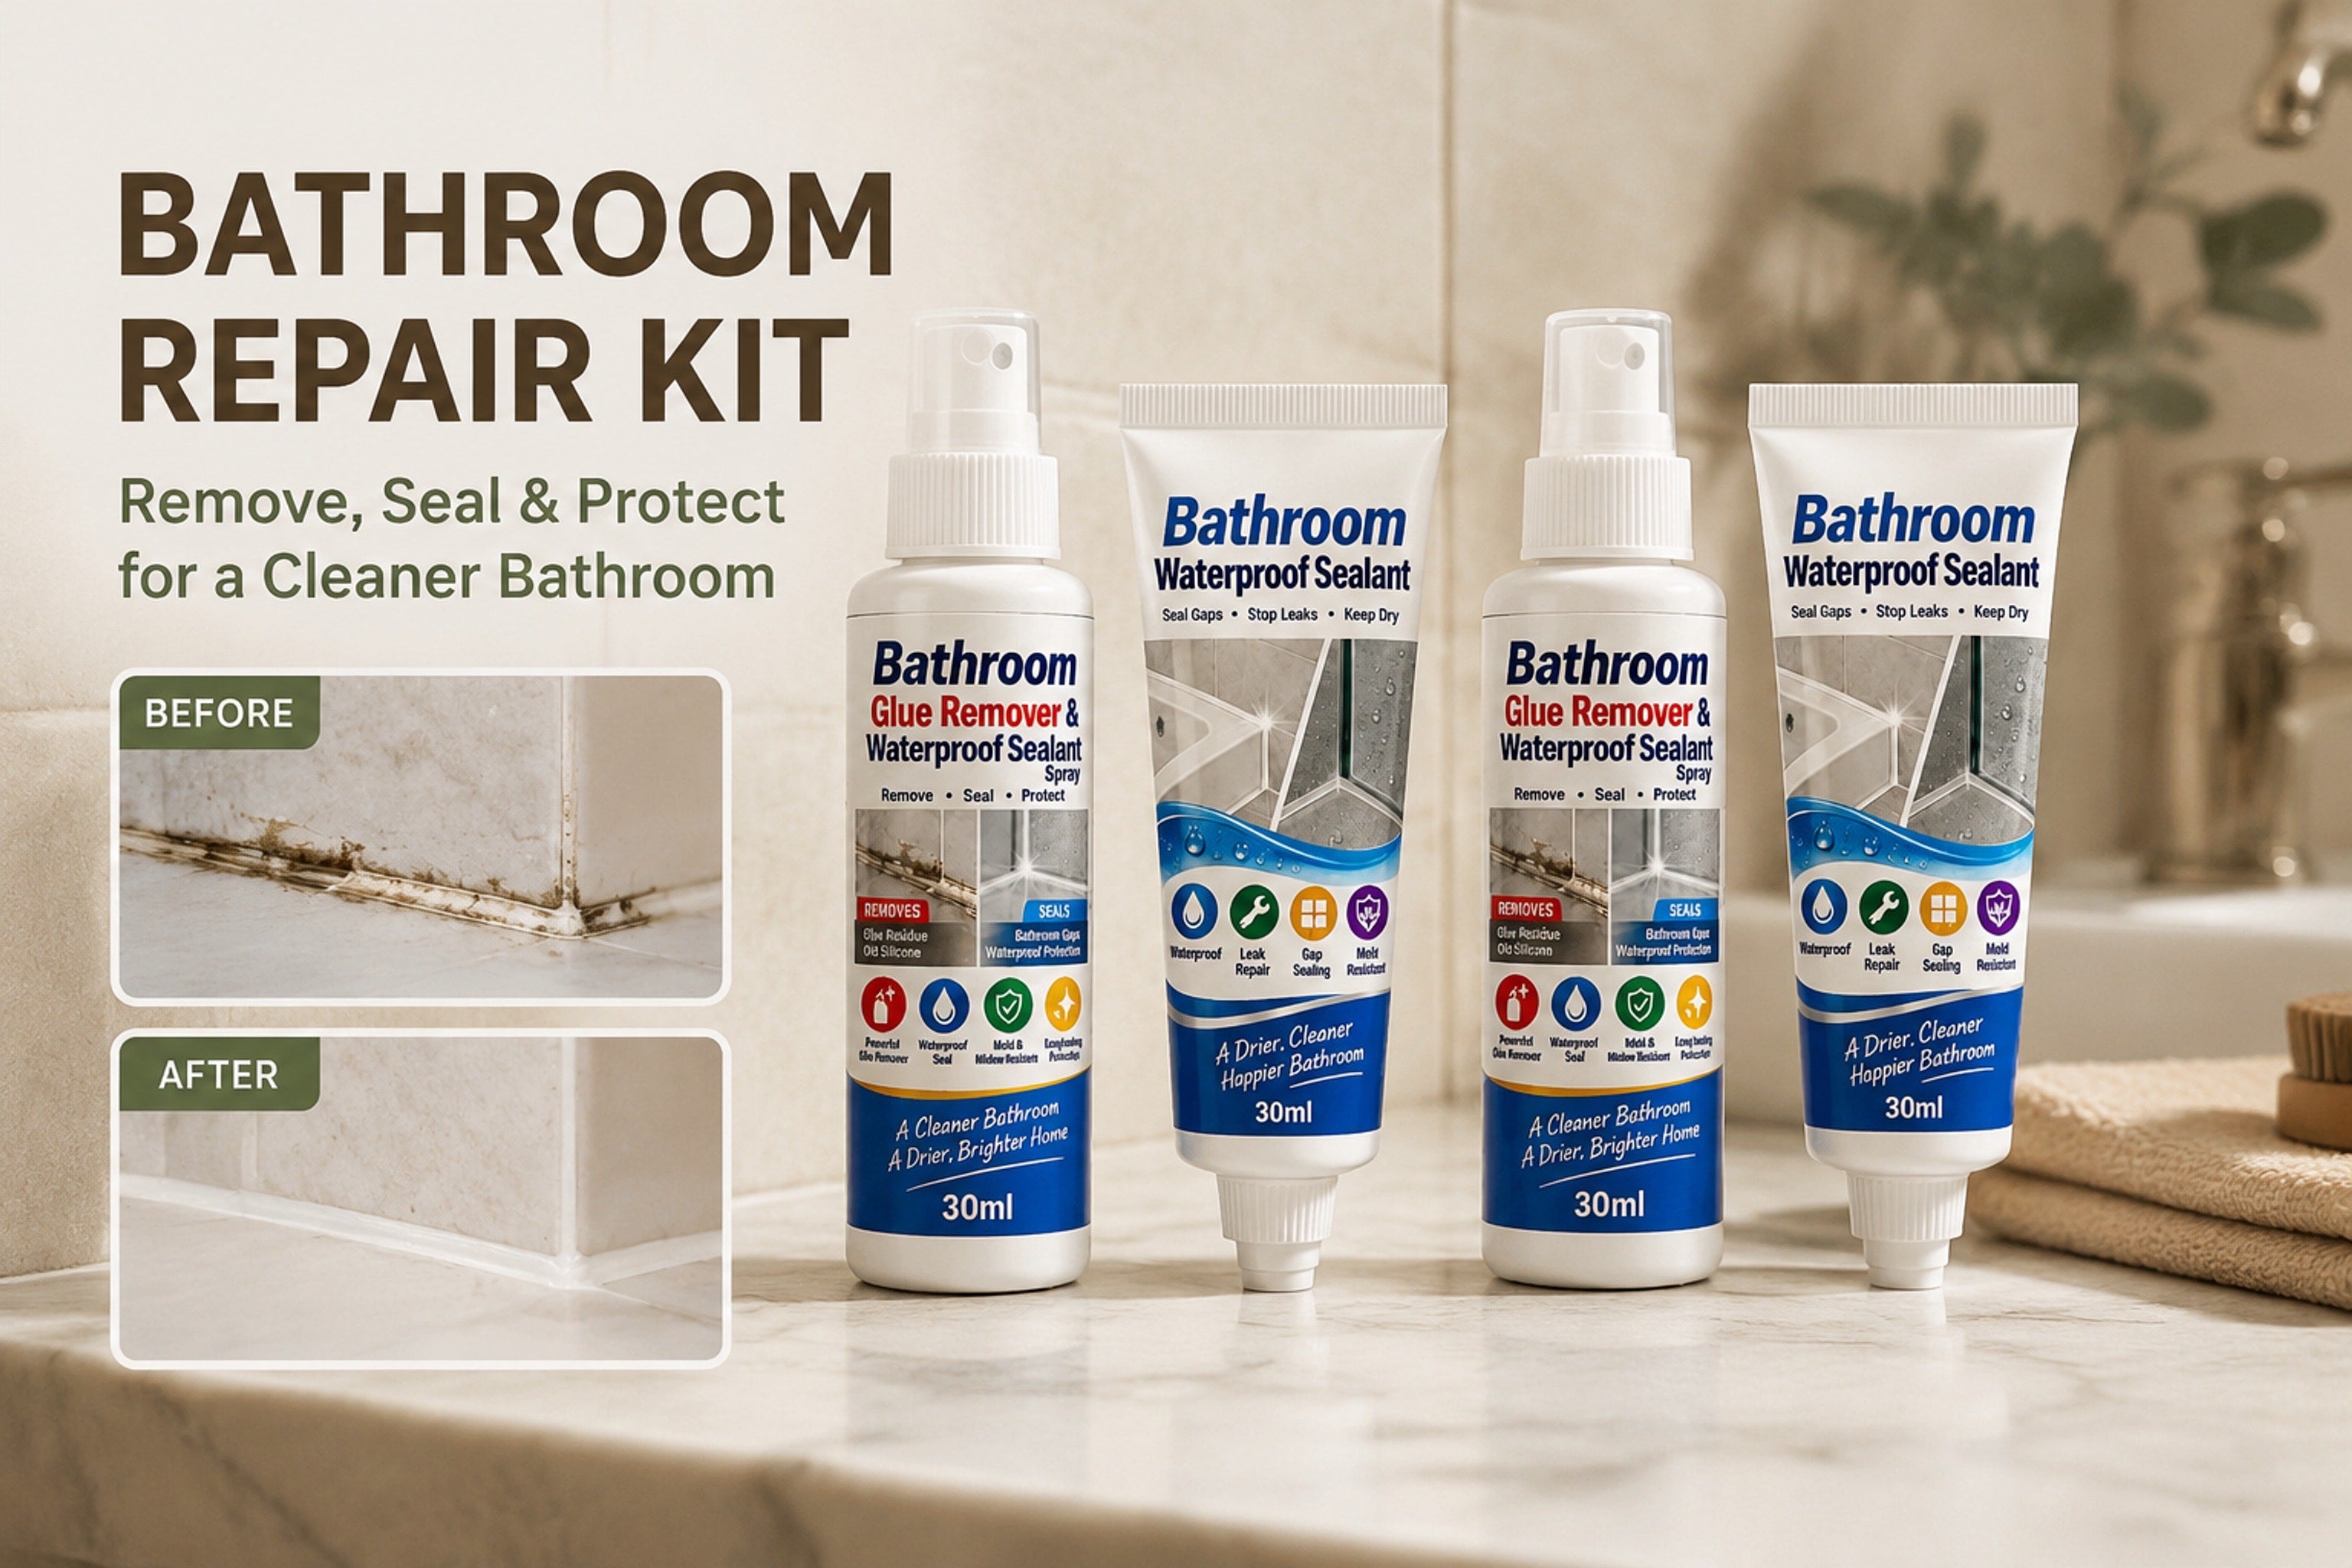 Two applicators, white sealant, and 30 mL + 30 mL contents.
mL adhesive remover
One listed component in each set is a 30 mL adhesive remover.
mL white waterproof glue
One listed component in each set is a 30 mL waterproof glue in white.
Two distinct applicators
A spray bottle and pointed-nozzle tube support separate steps.
1 Set or 2 Sets
Use the live selector to choose the quantity that fits your planned repair areas.
Give a worn bathroom edge a more considered refresh
Turn a Visible Joint Project Into a Clearer Two-Part Plan.
The same bathroom area, with a practical sequence to consider before you begin.
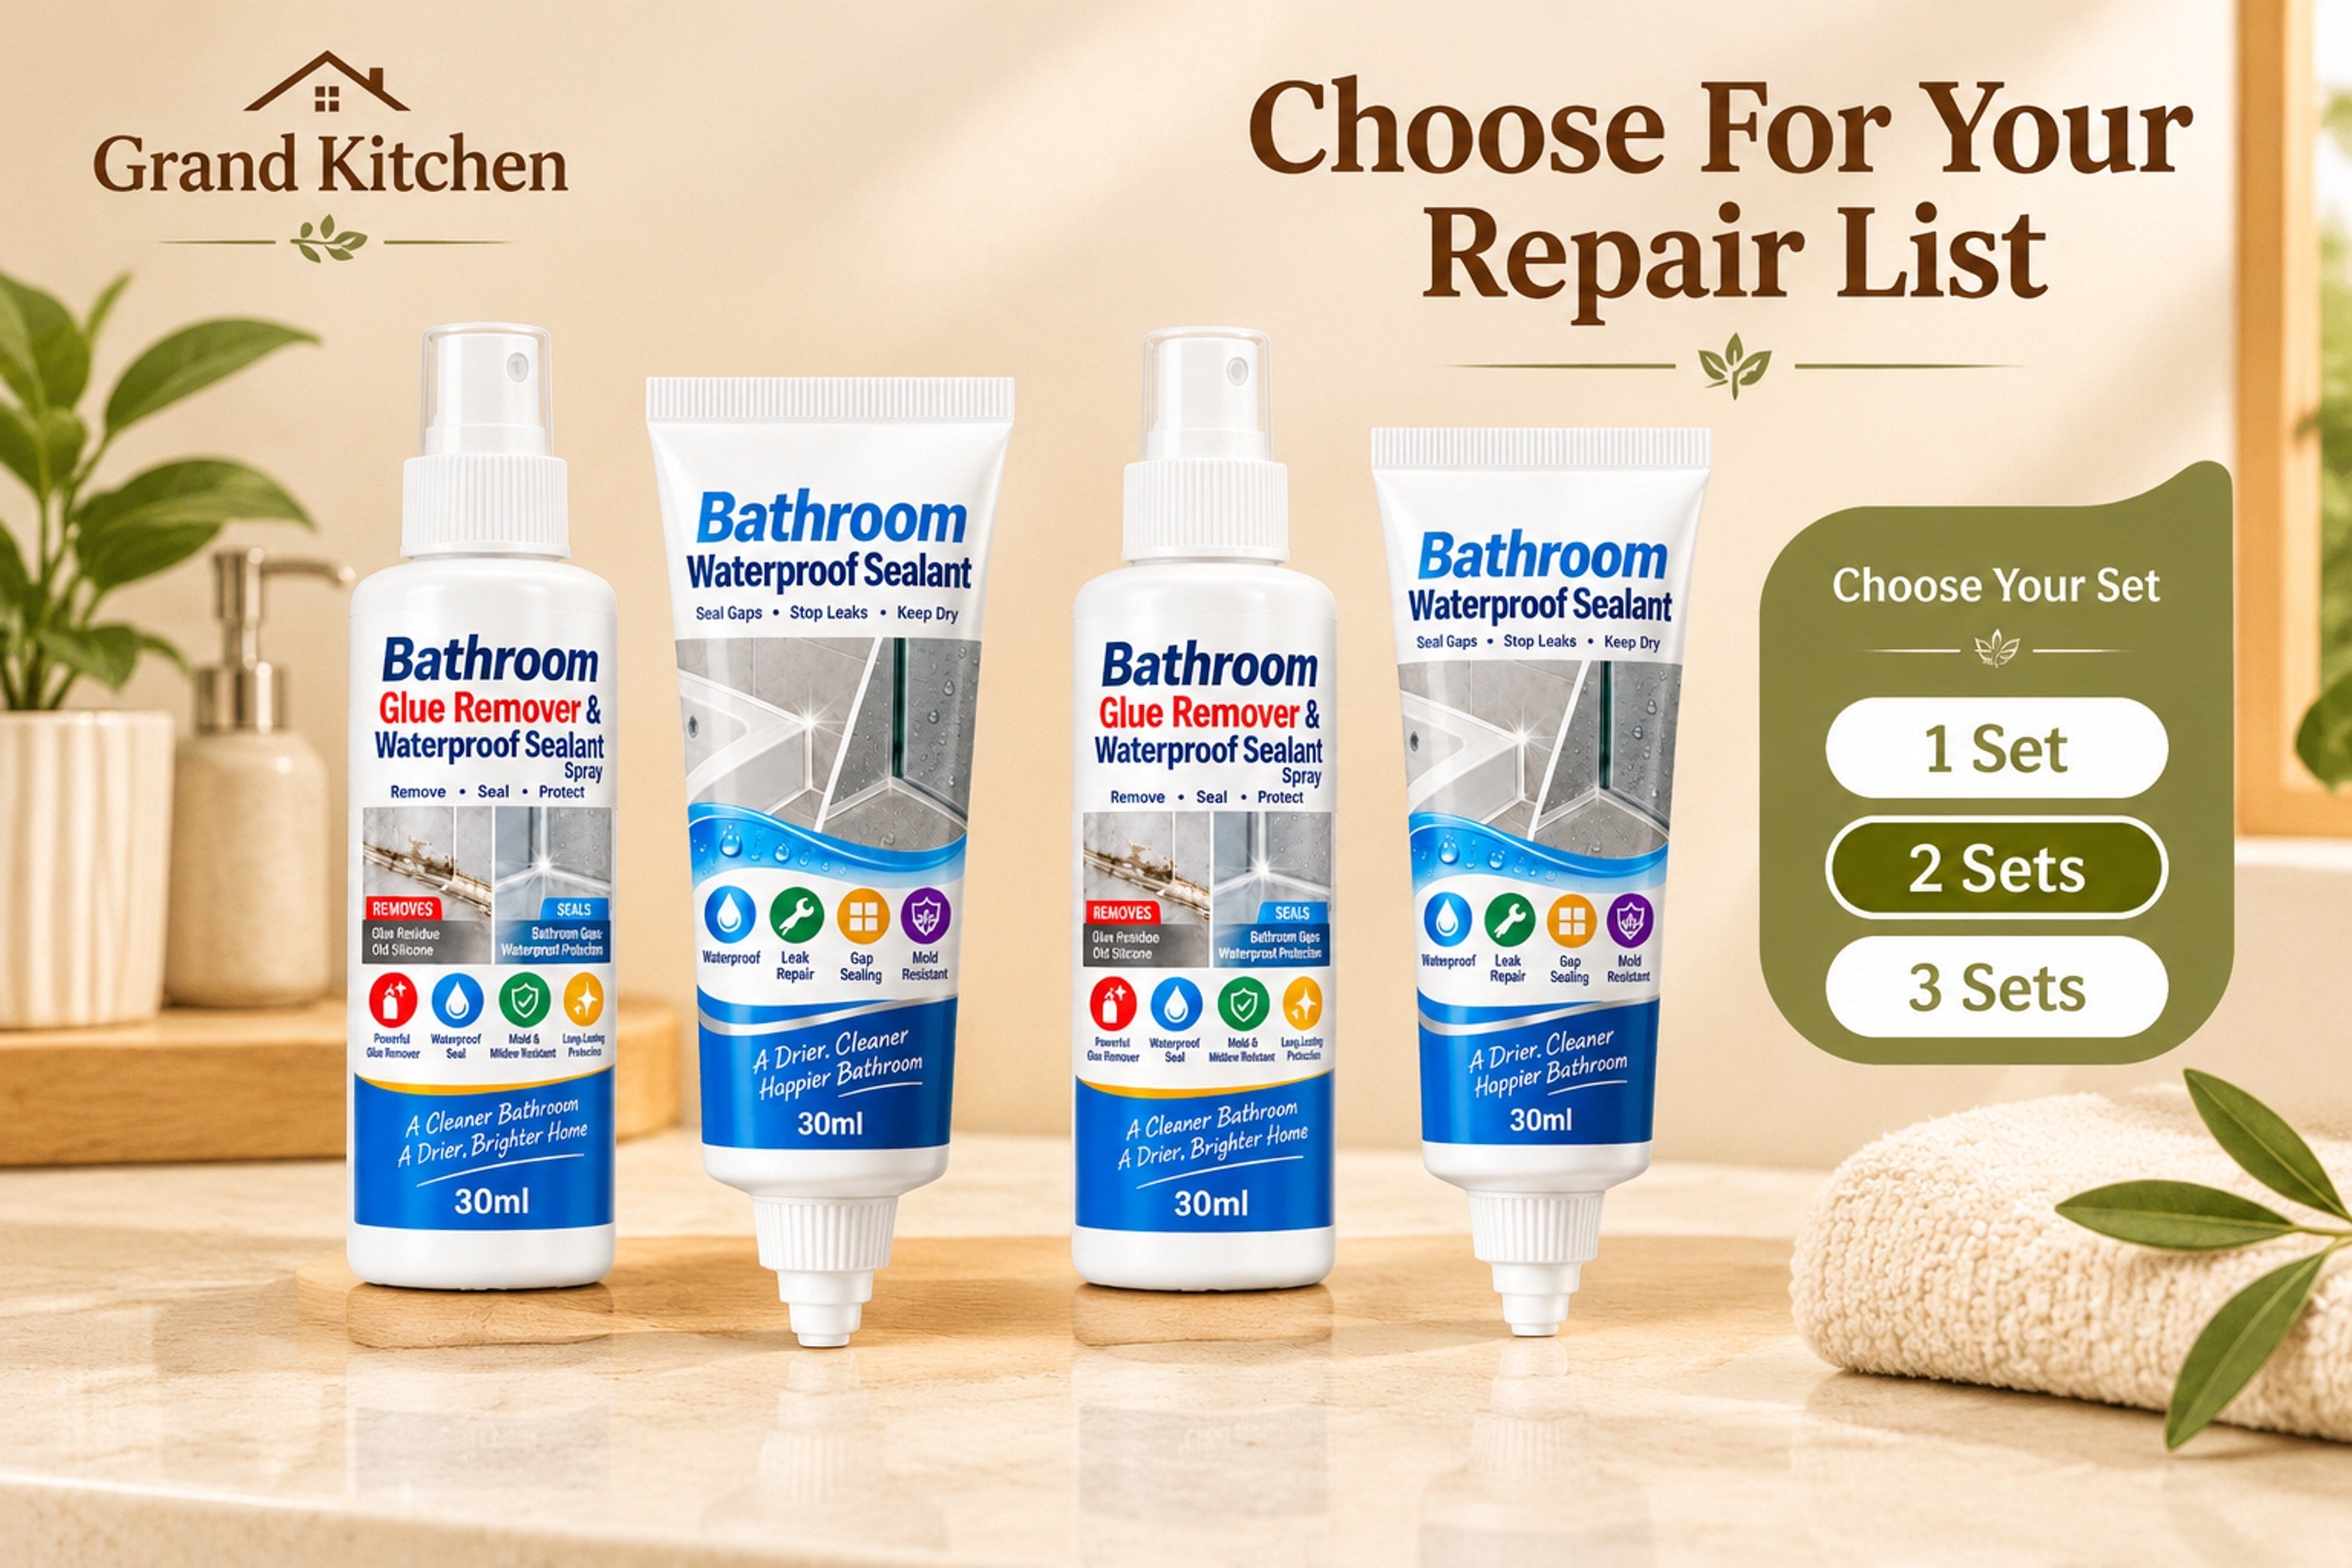 Before planning the refresh
Aged residue or worn sealant.
A visible bathroom-joint condition that may be ready for a closer look.
With a two-part kit
Remove first. Then apply a fresh white seal.
Grand Kitchen brings the listed remover and waterproof glue together for one bathroom-joint maintenance workflow.
Bathroom-joint selection guideTwo applicator formats and transparent set options
Plan your bathroom-joint refresh
A Two-Part Bathroom-Joint Workflow.
Review the joint, confirm the instructions, then follow the supplied product directions.
This kit is presented as a remover step followed by a white waterproof-glue step; use the package instructions for the actual application process.
- 1
Review the area and instructions
Before application, confirm the surface is suitable and review the product label for preparation and safety guidance.
- 2
Understand the two formats
The source presents a spray adhesive remover and a pointed-nozzle tube of white waterproof glue.
- 3
Choose the set count
Use the live selector to choose 1 Set or 2 Sets based on your planned repair areas; coverage is not provided.
Confirm the label details before you begin.A successful bathroom refresh starts with the right product information.
A practical kit for bathroom-joint refresh projects.
Check. Refresh. Reseal.
A better bathroom-joint project starts with confirming the product label and instructions before you begin.
Confirm the surface
Check the supplied instructions to confirm the product is appropriate for your planned bathroom joint.
Review preparation steps
Confirm cleaning, old-material removal, and application directions before starting the project.
Follow label guidance
Review safety, drying or cure directions, and storage guidance on the supplied product label or instructions.
See product details
Made for the bathroom edge you are ready to refresh
A Clearer Way to Tackle an Aged Bathroom Joint.
When old residue, peeling sealant, or visible gaps make a bathroom edge look unfinished, a two-part kit helps organize the project: address the old material first, then apply a fresh white sealant. Confirm instructions and compatibility before use.Two parts make the maintenance sequence easier to understand
Remove Old Residue, Then Apply a Fresh White Seal.
Grand Kitchen pairs a spray-format adhesive remover with a pointed-nozzle white sealant for a clearly defined bathroom-joint refresh workflow.
- ✓A two-step bathroom-joint kit
- ✓Start with the listed adhesive remover, then move to the listed waterproof glue.
- ✓Choose 1 Set or 2 Sets for the repair areas you plan to address.

“
Two distinct applicators make the intended sequence easier to see at a glance.
Step 1: Spray-format remover
Address Old Residue First.
The kit includes a 30 mL adhesive remover presented in a spray bottle for the removal stage of the project.
See what is included ↗Step 2: Pointed-nozzle sealant
Finish With a White Sealant.
The kit includes 30 mL of white waterproof glue in a pointed-nozzle tube for bathroom-joint application.
Review product details ↗Choose the listed set count
Pick the Quantity That Fits Your Project.
Select 1 Set for $15.99 or 2 Sets for $19.99 based on your planned repair areas. Coverage information is not supplied.
View set options ↗Choose your bathroom-joint refresh kit
Two steps. One practical maintenance workflow.
Choose 1 Set or 2 Sets. Each listed set includes 30 mL adhesive remover and 30 mL white waterproof glue.
Choose the quantity that fits your task.
Three quick checks before you add the kit to cart.
STEP 1
Identify the joint you want to refresh
The product is presented for bathroom tile-and-fixture joints with visible aged residue or worn sealant.
STEP 2
Confirm application details
Before use, check the supplied label or instructions for surface compatibility, preparation, and safety guidance.
STEP 3
Select your set count
Choose based on the repair areas you plan to address; coverage information is not supplied.
Use the live product selector to choose 1 Set or 2 Sets.
Choose Your Grand Kitchen KitProduct, price, and any applicable terms are shown in the live product selector and at checkout.
Know what is listed in the kit
Clear Product Details Before You Apply.
This is a two-part bathroom-joint kit with a spray remover and a pointed-nozzle white sealant. Performance details and application directions should be confirmed from the supplied label or instructions.
- ✓30 mL adhesive remover in a spray-bottle format
- ✓30 mL white waterproof glue in a pointed-nozzle tube
- ✓1 Set and 2 Sets are available through the live selector
Please review the selected quantity and the supplied instructions before adding to cart. For order or product questions, contact the Grand Kitchen support team through the store contact page.
Choose With ClarityBathroom-joint repair questions, answered
Considering a Two-Step Bathroom Refresh?
Here are the product details to help you choose the right set for your project.
Understand the two-part kitWhat is included in one set?+
Each set lists a 30 mL adhesive remover and a 30 mL waterproof glue/sealant. The remover is presented in a spray bottle, while the white sealant comes in a pointed-nozzle tube.
What is this kit intended for?+
This kit is presented for small household bathroom-joint refresh tasks, such as tile-to-tub or tile-to-sink edges with visible old residue or worn sealant.
What color is the sealant?+
The listed color is white.
How does the two-step format work?+
The product is presented as a removal step followed by a resealing step: use the spray-format remover for old residue, then apply the white sealant with the pointed nozzle. Follow the supplied product instructions.
Which set count can I choose?+
Choose 1 Set or 2 Sets from the live product selector. Select based on the number of repair areas you plan to address; coverage information is not supplied.
Is this suitable for every bathroom surface?+
Surface compatibility is not supplied. Before applying, confirm that the product is suitable for your specific surface using the label or included instructions.
How long does it take to dry or cure?+
Drying and cure times are not supplied in the product information. Check the product label or included instructions before starting your repair.
Does it remove mold or stop leaks?+
This kit is presented for bathroom-joint maintenance. It is not described here as a mold treatment, leak repair, or solution for every bathroom condition.
What should I check before use?+
Review the product label or instructions for surface compatibility, preparation, safety guidance, application steps, drying or cure directions, and cleanup information.
Can I use this for more than one repair area?+
Select 1 Set or 2 Sets based on your planned repair areas. Coverage guidance is not supplied, so review the product information before choosing your quantity.
Who can help with product or order questions?+
Contact the Grand Kitchen support team for product or order questions. Review current delivery details during checkout.
Here for your home-maintenance questions
Need Help Choosing Your Set?
Ask about listed product details, set options, or your order. We are here to help you make an informed choice.
Contact Grand Kitchen support Because a practical home repair starts with clear product information.